Showing posts with label GARDEN::compost. Show all posts

Tuesday, May 12, 2009

Garden progress


The garden is growing, slowly. So far the only thing to harvest are salad greens, but M and I have had at least four large salads from this patch already! We've also had a solid week of rain which has been good for the garden, bad for my windowsill seedlings. They are long and leggy and I'm thinking I will have to buckle down and buy some starts if I want tomatoes, cucumbers, squash and peppers in my garden.


It also looks as though we've had some visitors in the pea patch. Visitors with long fuzzy ears and buck teeth. I shake my fist at you, you wascaly wabbits.


On the bright side, I visited the Fairmount Park Organic Recycling Center where I got two big buckets full of beautiful compost for FREE. I love free. At the Recycling Center anyone can get up to a trash can full of compost, manure or wood chip mulch for free. After that it's $18 for 1/2 ton (of compost, I'm not sure about the rest). Here it is all laid out in the garden. I didn't want to suffocate the seedlings in some squares so they miss out.


Tuesday, January 20, 2009

Settling in, compost style

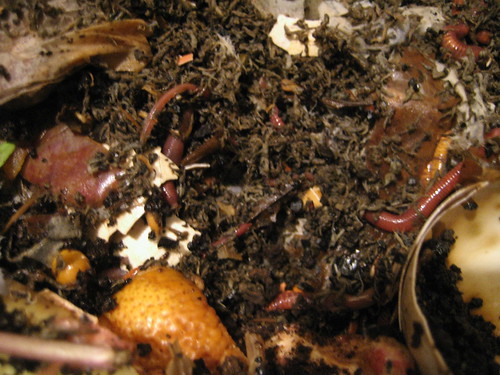
One of my favorite Christmas gifts this year (other than this, of course) is a book called "The Urban Homestead: Your Guide to Self-Sufficient Living in the Heart of the City" by Kelly Coyne and Erik Knutzen, writers of the blog Homegrown Evolution. It's an incredible primer on all things livegreen in the city, full of instructions on how to make things like self-watering plant containers that you can use to grow veggies on your fire escape. I used their instructions to make a new and improved worm bin for my basement ( I had to leave this old one behind in Davis). The new one is a double layered system that will make harvesting the compost a lot easier (it involves drilling holes in the tupperware to allow the worms to migrate between bins, tee hee!).


To get my worms I sent out a request on the American Community Gardening Association listserve and Dorene in Phoenixville let me come harvest about two pounds of red wigglers from her worm bin to start mine.


I also started an outdoor compost bin for yard scraps and veggie scraps. I don't have enough land to repeat the one I made in Davis so I just got a plastic garbage bin, drilled some holes for air flow and stuck it on my patio.


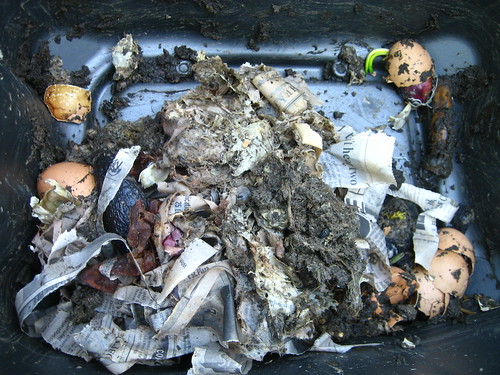
The worms can't handle the amount of compost we produce in the house (which as you can see is mostly egg shells and coffee grounds right now), so it's neccessary to have the other compost bin to handle the excess. It will take longer than the worm bin to become usable compost, but I can wait.


Other parts of the book that I love include the section on how to harvest and eat "feral edibles," weed veggies like dandelion leaves, nasturtium pods, sheep sorrel, and purslane, the section on how to make your own solar food dryer, and the section on raising chickens in the city (have I mentioned that I want some?). The attitude of the authors is that anyone can do these things, you don't need to have a lot of money or land. You can grow lettuce in a tub in your living room. You can brew beer in your basement. You can harvest greens for dinner from a vacant lot. The attitude is very "can-do" and inspiring. You will be reading more about this book here in the future, you can bet your sweet patoot.

Monday, May 19, 2008

The End is the Beginning


My dear Jaja has moved out. She is moving on to a summer of travel before starting med school in the fall. I miss her terribly, but I plan on visiting her in Napa in June and in MO in the fall (probably for rudely long amount of time). But this end is a new beginning, for all of us.


Here we are wishing her good luck with a dusky game of horseshoes and some beer. The three of us rode our bikes 3 miles to this little hole-in-the-wall bar to wish our Sissy goodbye. If only Sammy could have come.

And here's another interesting end/beginning. A large potato plant has sprouted in our compost bin. Not uncommon, but still unexpected for this compost newbie.


Wednesday, May 7, 2008

Grow Your Own


I'm trying my second round of veggies, this time using home grown fertilizer (worm poop). I'm also going to experiment with a little thing called watering. We'll see how it goes.


I never updated you on the status of the last veggies, simply because they were pathetic and bug-infested. But with these new-fangled changes, things should be looking up.

I got the starts from the professor I used to TA for, who gave me the first round as well. Free plants, woohoo!


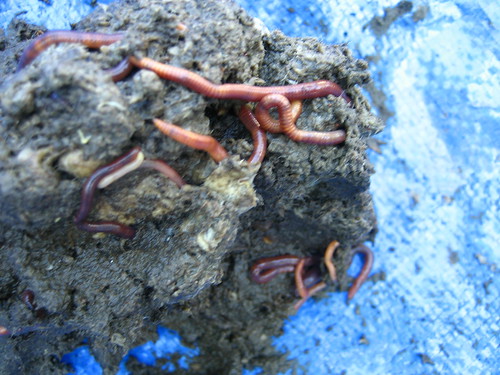
I then set about to harvest my worm poop. This is how it goes:

  • Set out a tarp and separate the compost into small piles.
  • Place it in the sun.
  • The worms will wiggle to the bottom of the piles to get away from the sun, and you can scoop the compost off the top, relatively worm-free.
  • Repeat until the piles are too small and filled with worms to do anything more with them.
  • Replace the worms and add more newspaper to fill the bin.


The worm bin, post-harvest.

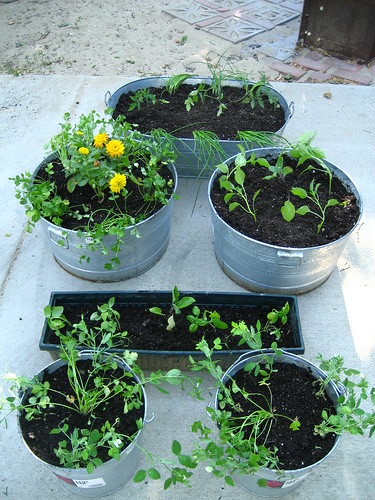
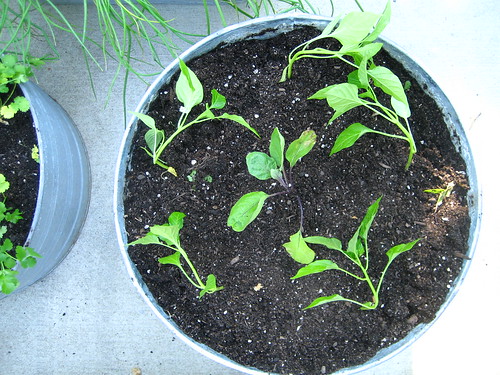
Here's what I anticipate for spring:


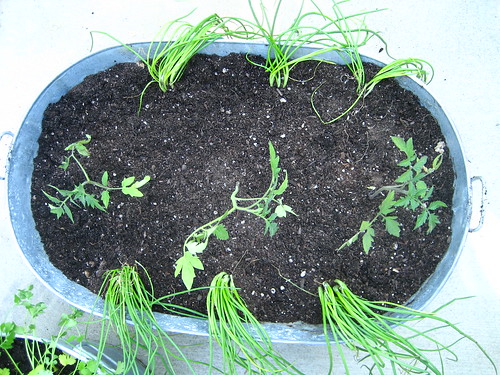
Tomatoes and green onions


Peppers and eggplant


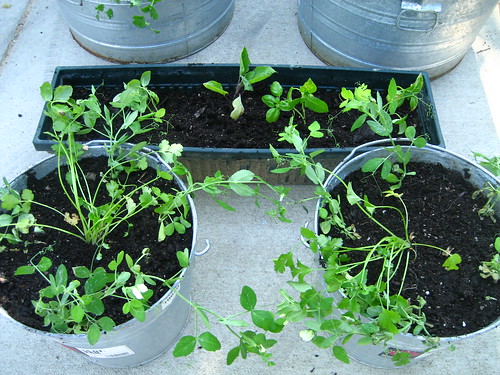
Cilantro and peas (these will actually have to be replaced because they are winter crops). In the back there is more eggplant and basil.


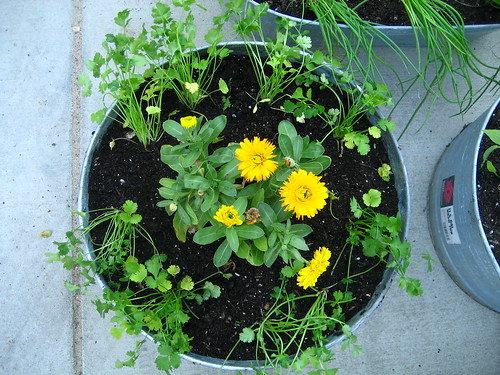
More cilantro and calendula flowers (edible).

Wish me luck!

Wednesday, August 8, 2007

Compost Queen


A few months ago I went to a worm composting workshop given by Project Compost, a student run program on campus. I made a worm bin and my little wormies have been happily munching my veggie scraps for a while now. It was super easy, here are the instructions. I haven't harvested the worm castings yet, but our garden is growing so there will be plenty of opportunity to use the "black gold."


I lived in my old house for a whole year, with its big back yard, and the whole time I meant to make a large outdoor compost bin. Never happened. But I've been in this new house for three weeks and I already followed through and made one! It was also incredibly easy and it only cost me fifteen dollars. Here's what I did:

Materials:
  • 10-foot length of 36-inch-wide 1-inch galvanized chicken wire
  • 2 feet of heavier wire for ties
  • two or three 4-foot-tall wooden or metal posts

Tools:
  • heavy-duty wire cutters
  • pliers
  • hammer
  • work gloves
Instructions:
  • Fold back 3 to 4 inches of chicken wire at each end of the cut piece to provide a strong, clean edge that will not poke or snag and that will be easy to latch
  • Stand the wire in a circle and set it in place for the compost pile
  • Cut the heavy wire into lengths for ties. Attach the ends of the chicken wire together with the wire ties, using pliers
  • Space posts around the inside of the chicken-wire circle. Holding the posts tightly against the wire, pound them firmly into the ground to provide support.
These instructions are slightly modified from this website.


I put the bin under the grapefruit tree in our side yard. The space is pretty barren right now, but it will have a picnic table and planter boxes and fun lights all around. But you'll have to just use your imagination for now.